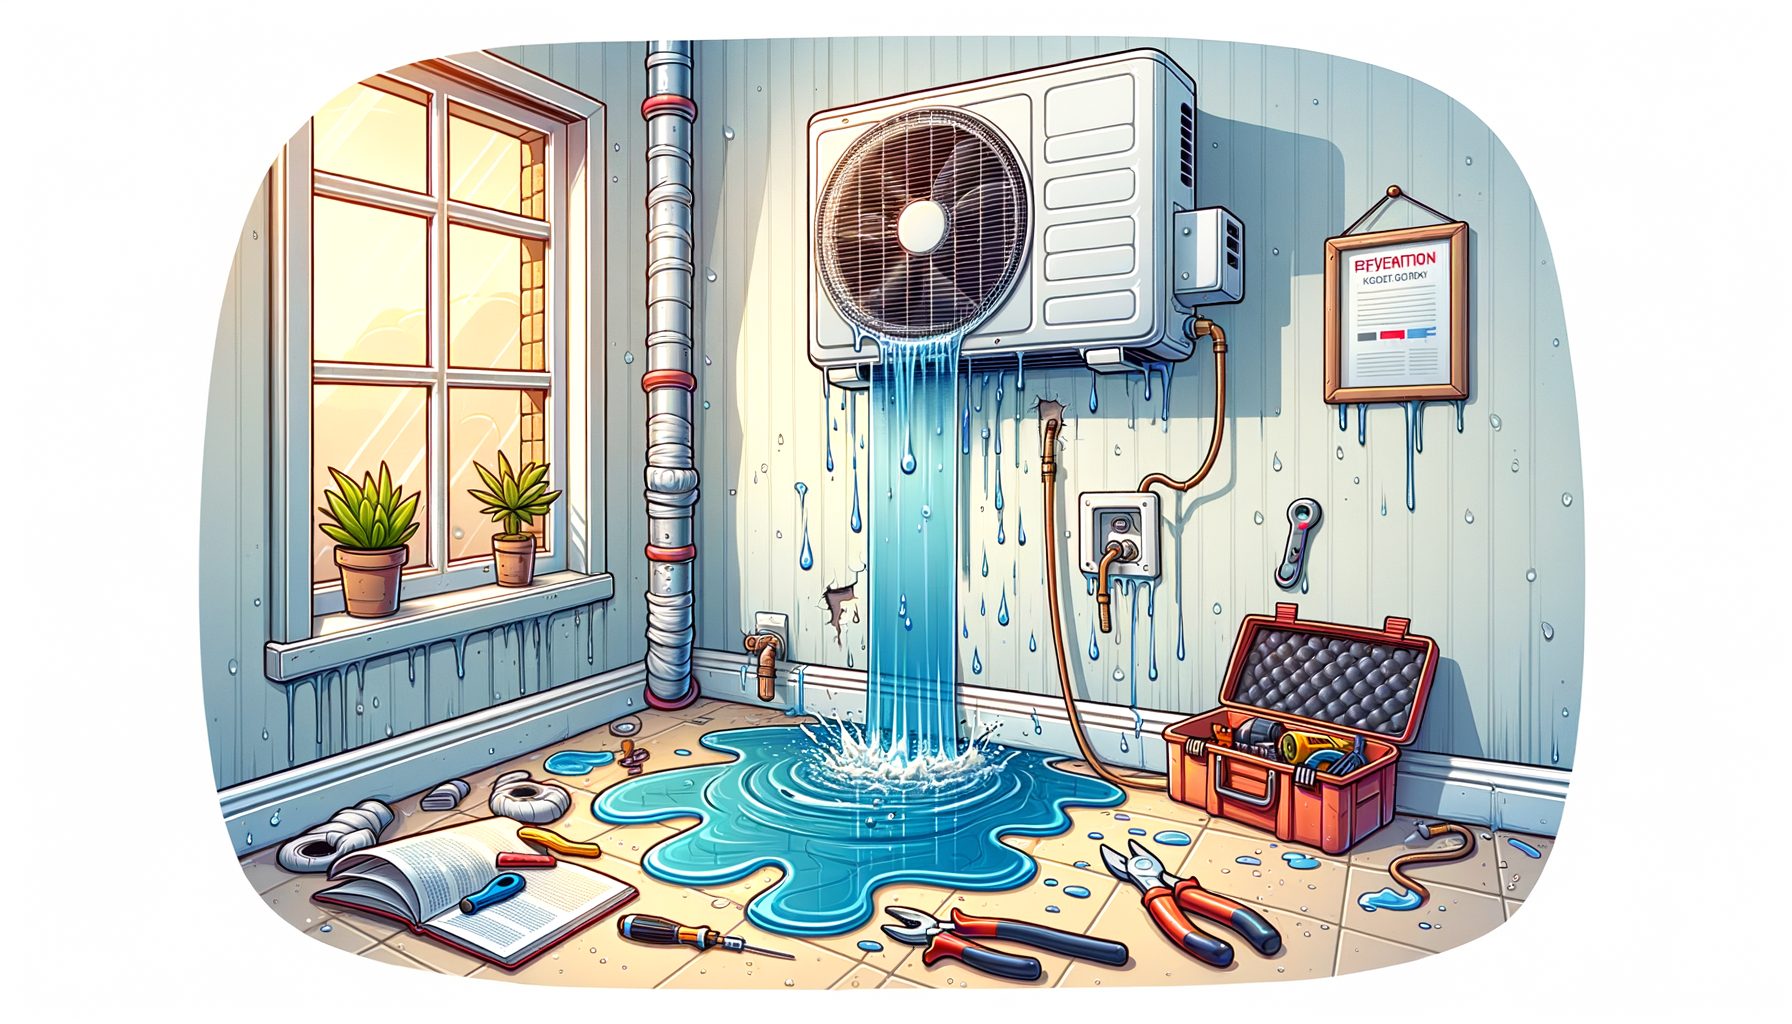
An air conditioner ought to cool and dehumidify your home—not leave it soggy. Spot water dripping indoors and you risk ruined floors, stained ceilings, and mold. The upside: most leaks trace back to a few fixable issues, many of which you can solve in minutes. In the guide below, you will see why ACs leak, how to stop it fast, what maintenance keeps the problem from returning, and when calling a pro makes more sense. Expect practical steps, simple tools, and expert-backed tips you can use today.
The real reasons your AC is leaking water indoors
Cooling air always creates condensation—a simple fact. As warm, humid air passes over the evaporator coil, water vapor condenses and is meant to drain through a small pipe into a pan and out of your home. When that flow is interrupted—by clogs, ice, or a damaged drain path—water backs up and spills inside. Find where that path fails, and you’ll have a clean fix.
Clogged condensate drain lines top the list. Algae, dust, and debris can form slime inside the small PVC pipe, especially in humid climates or after long off-seasons. Once the pipe plugs up, the drain pan fills and overflows. A related headache: cracked, rusted, or misaligned drain pans. Older metal pans may rust; plastic pans can crack or shift if the system vibrates or wasn’t leveled during installation.
Frozen evaporator coils cause plenty of leaks, too. A dirty air filter chokes airflow; the coil gets too cold; ice forms. When that ice melts, the drain can’t keep up and the indoor unit floods. Low refrigerant can trigger similar freezing by dropping coil temperature below normal. Thick frost on the indoor coil panel or noticeably weak cooling is a strong clue.
Installation and design decisions can play a role as well. Without proper slope toward the outside, the condensate line lets water stagnate and backflow. Long horizontal runs without a vent can create airlocks. In basements or apartments where gravity won’t help, a failed condensate pump or a stuck float switch lets water spill. With some mini-splits, a pinched drain hose or poor suction-line insulation leads to drips along the wall unit.
Environmental conditions matter, too. Extremely high indoor humidity, open doors or windows, and neglected filters push more moisture into the system than it can drain comfortably. When homeowners and techs compare notes, the same patterns appear again and again—so most leaks are predictable and fixable with clear, repeatable steps.
Fast, safe fixes you can try today
Power down first. Turn off the AC at the thermostat and the breaker—water and electricity don’t mix. Place towels or a shallow tray under the air handler if water is dripping.
Step 1: Check and replace the air filter. Pull the filter and hold it to the light. If you can’t see light through it, airflow is restricted and coil freeze may follow. Replace or wash it now. Many homes need a change every 1 to 3 months depending on dust, pets, and usage. A single change often restores airflow and stops recurring leaks within a day. For guidance on filter selection and maintenance, see Energy Star’s advice at Energy Star air filters.
Step 2: Clear the condensate drain line. Find the PVC drain near the indoor unit, usually with a T-shaped access cap. Remove the cap and pour in one cup of distilled white vinegar; wait 30 minutes, then flush with warm water. If you have a wet/dry vacuum, wrap a rag around the outdoor end of the drain pipe and vacuum for 1–2 minutes to pull out sludge. Expect algae and dirt. After vacuuming, pour another half cup of vinegar in the indoor access to discourage regrowth.
Step 3: Inspect the drain pan. Shine a flashlight under the evaporator coil. If the pan is cracked, heavily rusted, or misaligned, gently reposition it so it sits level and drains toward the outlet. Minor hairline cracks can be temporarily sealed with a waterproof HVAC-approved epoxy, but treat that as a stopgap. A replacement pan is the lasting fix.
Step 4: Reset after a frozen coil. If you saw ice or heavy frost, leave the system off with the fan set to On for 2–4 hours to thaw the coil. Replace the filter and restart cooling. Should ice return within a day, low refrigerant or deeper airflow problems may be present and require a technician certified under EPA Section 608 (EPA guidance).
Step 5: Check the condensate pump (if present). In basements or tight spaces, a small pump lifts water to a drain. Confirm the pump is plugged in, the float moves freely, and the discharge tube isn’t kinked. Clean the pump reservoir and test by slowly pouring water in; it should switch on and discharge within seconds. If it hums but doesn’t pump, replacement is likely.
Step 6: Verify slope and insulation. The drain line should slope downward continuously. Correct sags or back-pitches with clips or straps. Insulate any sweating refrigerant lines to prevent secondary drips that mimic a “leak.”
These steps solve the majority of indoor leaks. If the drain keeps clogging every few weeks, the system may need a trap redesign, a vent addition, or professional cleaning to remove biofilm deep in the line.
Prevent AC leaks before they start
Preventive work beats cleanup. A simple routine keeps condensation flowing, coil temperatures stable, and bio-growth under control. Start with air filters—consistent airflow keeps the coil above freezing and reduces moisture load. As a rule of thumb, check monthly and replace or wash as needed. The schedule may be more frequent if you have pets, are renovating, or live in dusty regions.
Make condensate care a habit. Once per month during cooling season, pour half a cup of distilled white vinegar into the condensate access to stop algae. Consider adding approved condensate tablets to the pan if your manufacturer allows it. Twice per year, vacuum the drain line from the outdoor end to keep it clear. Ensure the line has continuous slope; add hangers to remove dips. In high-humidity climates or with long horizontal runs, ask your HVAC pro to add a vent tee or cleanout for easier maintenance.
Add protective shutoffs and alerts. A float switch in the drain pan cuts power to the AC when water rises—stopping overflows before they start. Smart leak sensors under the air handler or near the pump can send phone alerts at the first drip, giving you time to act. If your system uses a condensate pump, clean it at the start of each season and replace it proactively every few years, especially in heavy-use homes.
Tame indoor humidity. Keep windows closed when the AC runs, use bathroom and kitchen exhaust fans, and seal air leaks that let muggy air sneak in. The U.S. Department of Energy recommends indoor relative humidity around 30–50% for comfort and mold prevention (DOE humidity control). In extremely humid climates, consider a whole-home or stand-alone dehumidifier to lighten the AC’s moisture workload.
Well, here it is: a quick maintenance reference you can save.
| Task | Frequency | Why it helps |
|---|---|---|
| Check/replace air filter | Every 1–3 months | Prevents coil freeze and keeps airflow strong |
| Vinegar flush of condensate line | Monthly in cooling season | Stops algae and biofilm clogs |
| Vacuum drain line from outside end | Twice per year | Removes sludge and debris buildup |
| Test float switch and pump | Season start | Prevents surprise overflows |
| Professional tune-up | Annually | Checks refrigerant, coil, slope, and safety devices |
These small habits take minutes and can prevent hours of cleanup and hundreds in damage. Many HVAC pros follow similar checklists recommended by industry groups like ACCA (ACCA homeowner resources), so you’re aligned with best practice.
When to call a pro, what it might cost, and what to expect
Bring in a licensed technician if you face repeated leaks after basic maintenance, coil icing that returns within a day, or signs of refrigerant issues. Professionals use gauges to verify refrigerant pressures, cameras or flexible brushes for deep drain cleaning, and they can replace cracked pans, failed pumps, or mis-sloped drains safely. Techs also look for installation errors—missing traps, airlocks, or uninsulated lines—that DIY steps won’t fully resolve.
Costs vary by region and system type, but ballpark ranges help you plan. Clearing a clogged drain line and adding a cleanout might run about $100 to $250. Replacing a condensate pump usually lands around $150 to $400 for parts and labor. Repairing or replacing a secondary drain pan can cost $200 to $600 depending on access. If low refrigerant causes coil freeze, expect leak detection at roughly $300 to $600, with refrigerant adding more depending on type and amount. Evaporator coil replacement, if needed, can reach $1,200 to $2,500 or more in some markets. For current averages, check homeowner cost guides such as HomeAdvisor HVAC costs or local contractor estimates.
Here’s how a visit typically goes. The tech inspects the air handler, tests the float switch, verifies drain slope, and clears clogs with pressure or vacuum. If the coil is freezing, they measure airflow, filter condition, blower speed, and refrigerant charge. Because handling refrigerants requires certification in many countries (for example, U.S. EPA Section 608), do not attempt to add or recover refrigerant yourself. A quality technician will explain findings, offer options, and show you simple preventative steps for the future.
Ask about upgrades that reduce risk. A secondary drain pan under attic units, a pan float switch wired to shut down cooling, and a simple leak alarm can turn a potential ceiling repair into a non-event. These add-ons are inexpensive compared to water damage—and they buy peace of mind.
FAQs: quick answers to common AC leak questions
Why is my AC leaking water only when it is very hot outside? In extreme heat, your AC removes more moisture from indoor air, so the system produces extra condensate. If the drain line is partially clogged or poorly sloped, the added water can overwhelm the pan and spill. A monthly vinegar flush and confirming slope usually fixes it.
Can a dirty filter really cause water leaks? Yes. A clogged filter restricts airflow, which can drop coil temperature below freezing. Ice forms during operation and melts when the system cycles off, flooding the pan. Changing the filter is one of the fastest, cheapest fixes for intermittent leaks.
Is water leaking from my AC dangerous? The water is typically clean condensate, not sewage, but it can still cause real damage: warped floors, ceiling stains, and mold growth if left unchecked. Turn off power to the unit, clean up standing water, and address the cause quickly. If you notice a musty odor or discoloration, dry the area thoroughly and consider mold-safe cleanup practices or professional help.
How can I tell if it is a refrigerant issue? Repeated coil icing, hissing sounds, oily residue on refrigerant lines, or poor cooling even after filter changes can indicate a refrigerant leak or improper charge. Because refrigerants are regulated in many countries, contact a certified technician for testing and repair. See the U.S. Environmental Protection Agency overview at EPA Section 608.
Do mini-split systems leak for the same reasons? Generally yes. Mini-splits still produce condensate that drains via a small hose. Kinks, pinches behind the wall cassette, algae buildup, or poor slope can cause drips from the indoor unit. Clean the line, check the filter and coil screen, and ensure the hose slopes steadily to the outside. If the unit was recently installed and drips persist, ask the installer to recheck pitch and insulation.
Conclusion: stop the leak, protect your home, and keep cool
Bottom line: indoor AC leaks usually boil down to simple culprits—clogged drains, dirty filters, frozen coils, or a failing pump. You now have a clear process to fix it fast: power down, swap the filter, flush and vacuum the drain, inspect the pan, thaw the coil if needed, and test the pump and float switch. You also have a prevention plan—monthly drain maintenance, regular filter checks, humidity control, and protective shutoffs—to keep leaks from coming back.
Act today. If water is dripping right now, turn the system off, lay down towels, and do the drain flush and vacuum steps. Schedule a yearly tune-up if it’s been a while, and add a float switch or leak sensor for safety. If ice reappears, the drain keeps clogging, or you suspect a refrigerant issue, contact a certified HVAC technician and request a drainage and airflow evaluation. Use trusted resources like Energy Star, the U.S. Department of Energy, and ACCA to guide your choices and confirm best practices.
Your home deserves cool, dry comfort without the stress and cleanup. With a few minutes of maintenance and the right backup devices, most leaks can be prevented and costly repairs avoided. Ready to protect your space and chill with confidence? Start with a fresh filter, a vinegar flush, and a quick inspection today. Small steps now save big headaches later—what will you check first?
Sources: Energy Star: Air Filter Guidance | U.S. Department of Energy: Humidity Control | U.S. EPA: Section 608 Refrigerant Management | ACCA: Quality HVAC Resources | HomeAdvisor: Heating and Cooling Cost Guides